


Yogi DIY: Yoga Studio Candles

No one ever really tells you all the hidden little expenses of running your own yoga classes. (In fact, that’s a blog post on it’s own). Since I hire two different more “generic” venues to teach yoga in Wimbledon, I like to light scented candles during our practice to make it a teeny bit more ambient and cozy. The other day, my husband – (repeat, MY HUSBAND) announced, “I think I’m going to try make some scented candles”.
Husband initiating any kind of craft activity is a rare occurrence – so I jumped right in there with my washi-tape blazing before you could even say, rub-a-dub-dub-three-men-in-a-tub.
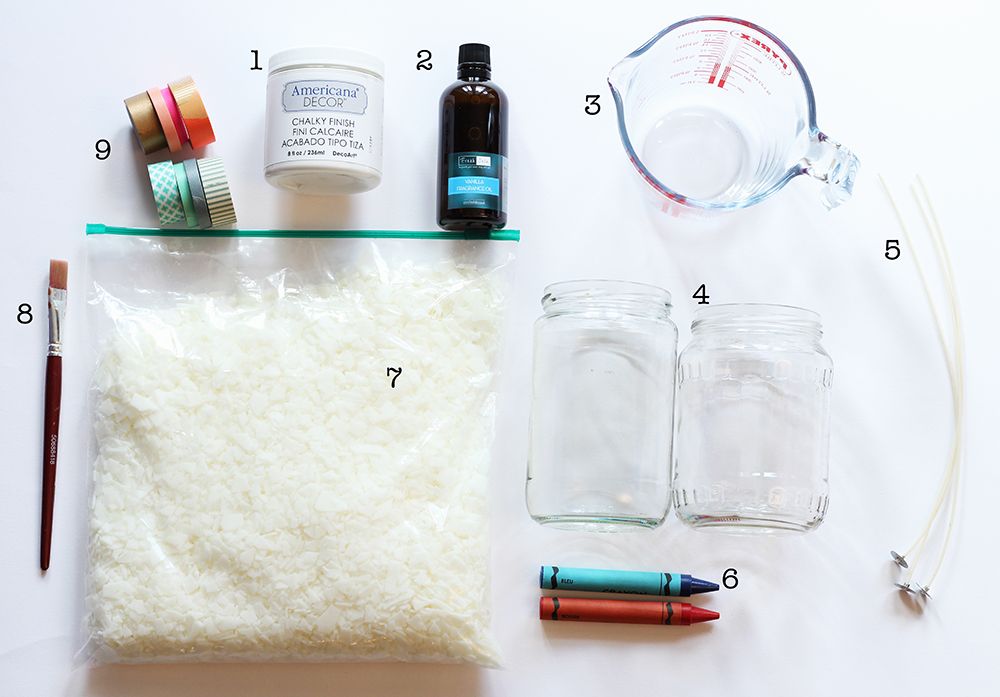
This is what you will need:
1. Americana Decor Chalk Paint (I used this to paint the candle jars, so it is optional in the candle-making part, but it does give a cool effect!)
2. Essential Oils – variety of flavours (We used Fresh Skin lavendar, vanilla, vanilla + lavendar combo and rose.)
3. Pyrex Jug
4. Glass jars – we used old gherkin jars!
5. Candle Wicks
6. Coloured Wax crayons (optional)
7. Soya wax flakes (2kg made 3 big candles and one medium candle!)
8. Paintbrush
9. Washi tape (optional)

Step One:
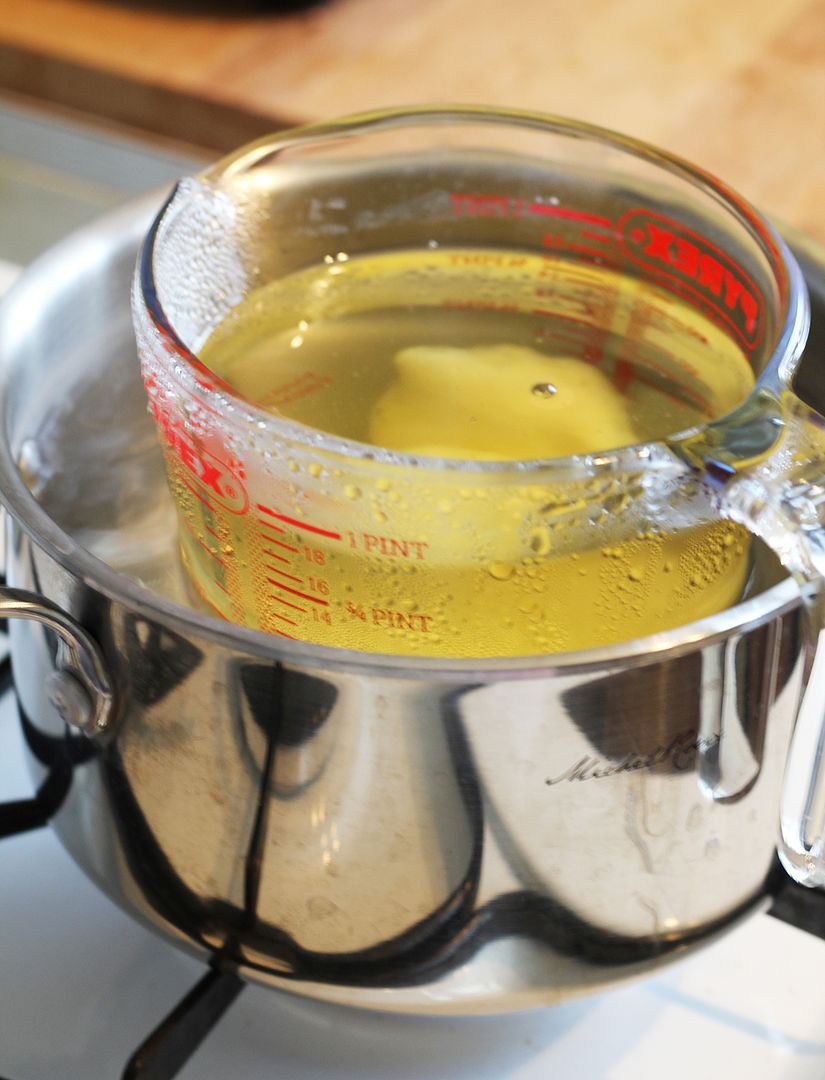
Put a pot of water on the stove to boil. Pour the soy wax flakes into the pyrex jug and place the jug of flakes into the pot of boiling water to allow the wax flakes to melt. We used roughly 500g of soy flakes per giant candle.
Step Two:
At this stage, add the essential oil of your choosing into the wax flakes. We used about 20ml of essential oil for about 500g of wax flakes. (We also used fragranced oil (opposed to essential oil) but found we had to use more than 20ml per 500g to get the same strength of smell). If you want, you can also add a little bit of coloured crayon wax. The wax dries much lighter than it looks – so don’t be too afraid of the initial colour! We used about 1.5cm of wax crayon.

Step Three:
Since it was Warren in charge of the candle making business, I decided to hop onto the glass jar decor. I taped a strip of masking tape around two of the jars and then used a chalky white paint to paint the jars.

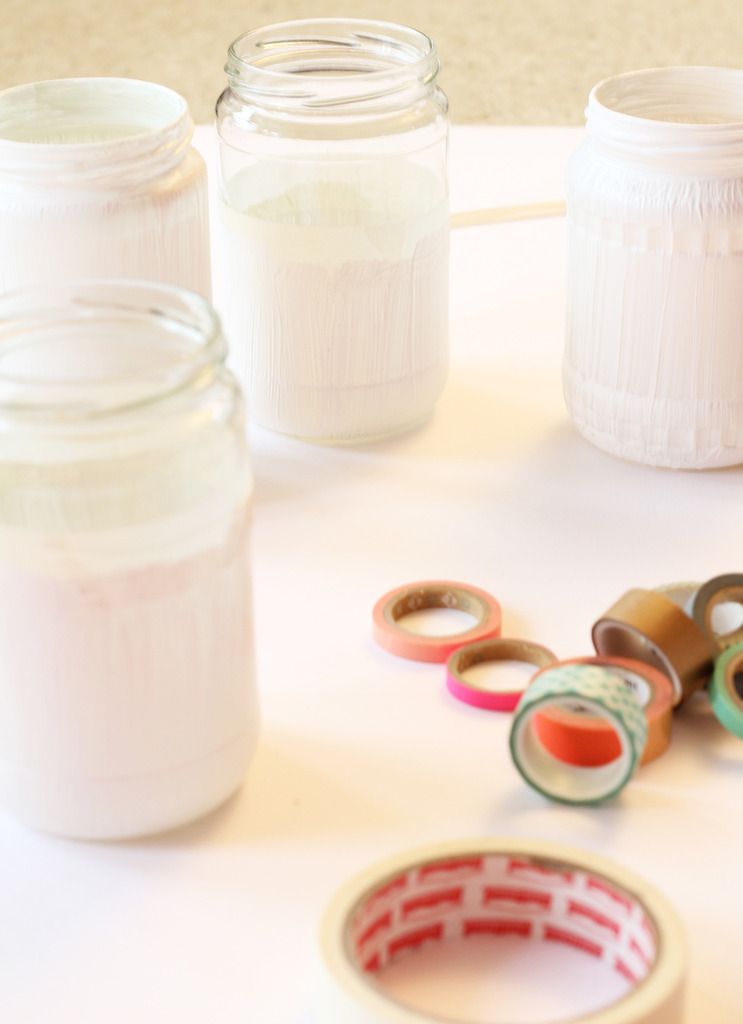
Some jars I painted halfway, others I painted the entire jar.
Step Four:
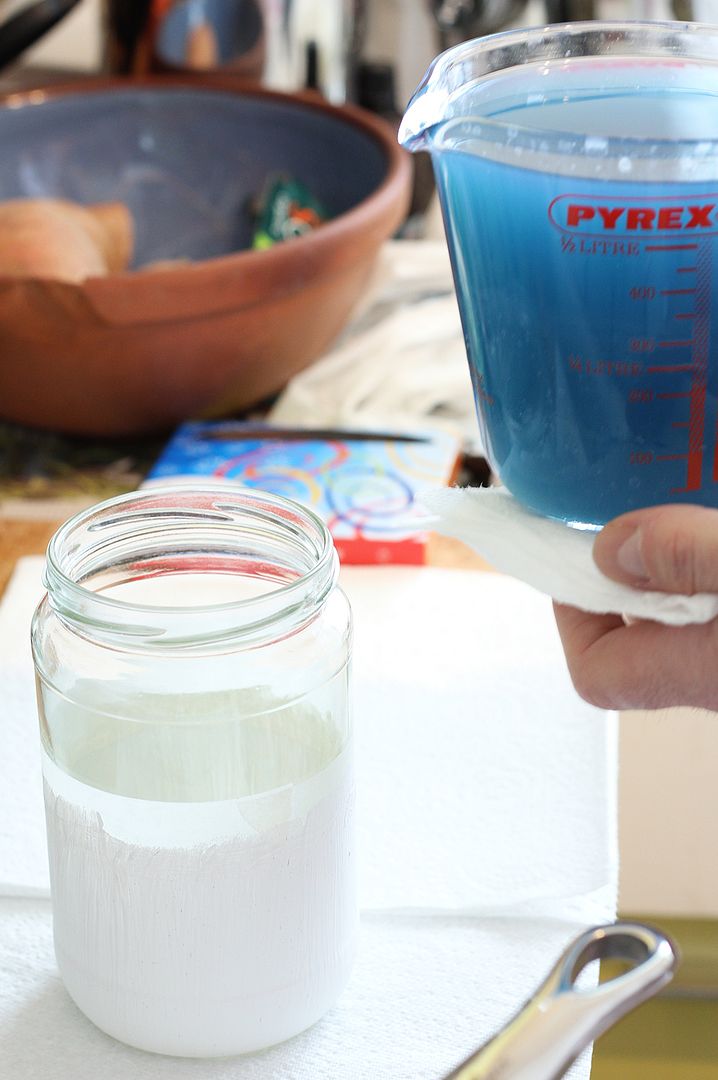
Once the wax flakes have melted with the essential oils, and the glass jars have dried (if you are painting them) pour the liquid wax into the glass jar.

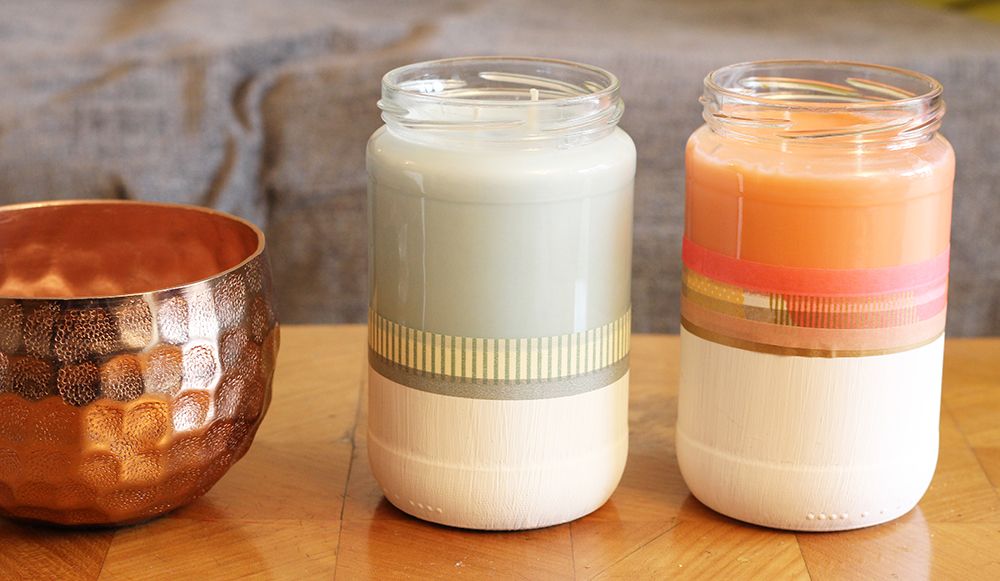
The jar above was a red colour crayon we used – it dried much more orange/peach than the soft pink we were hoping for!
Step Five:
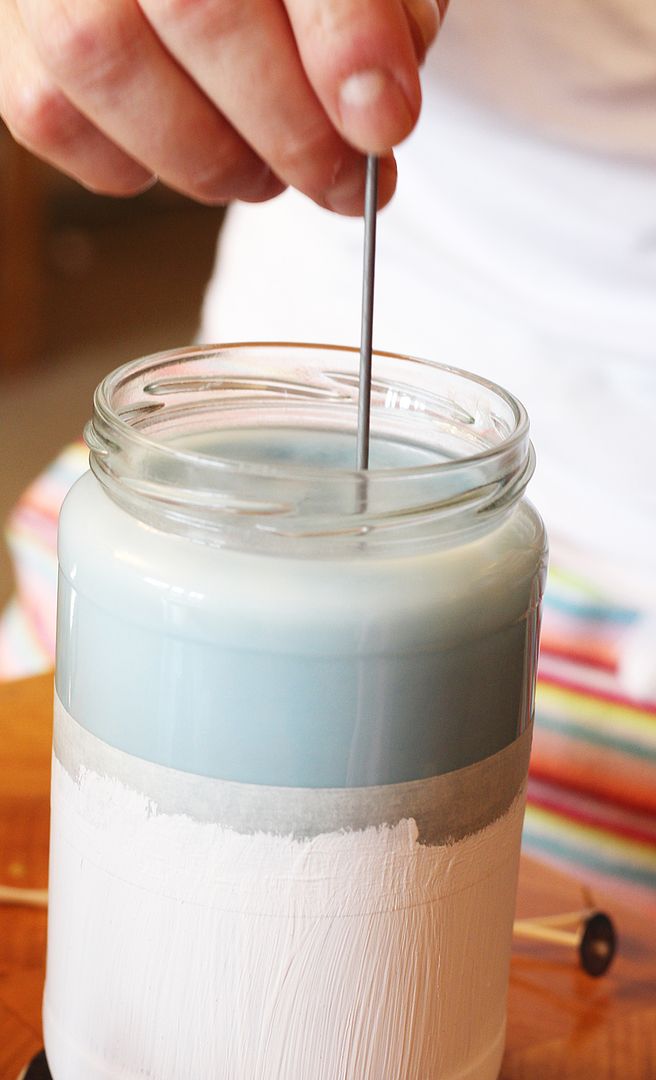
We had two different methods that we tested for inserting the wicks into the candle jar. Warren’s method was to wait until the candle was semi hardened and then place a thin metal skewer down into the candle and then slide the wick in. For this, you obviously need to catch the wax at exactly the right time and you will also need something that is of similar size to the candle wicks you have.
Me: “Warren, by the way, where you did get this metal thing from?
Warren: “Oh, I fashioned it out of a metal clothes hanger.” – so there you go.
You also need to make sure you can get the wick all the way down to the bottom.
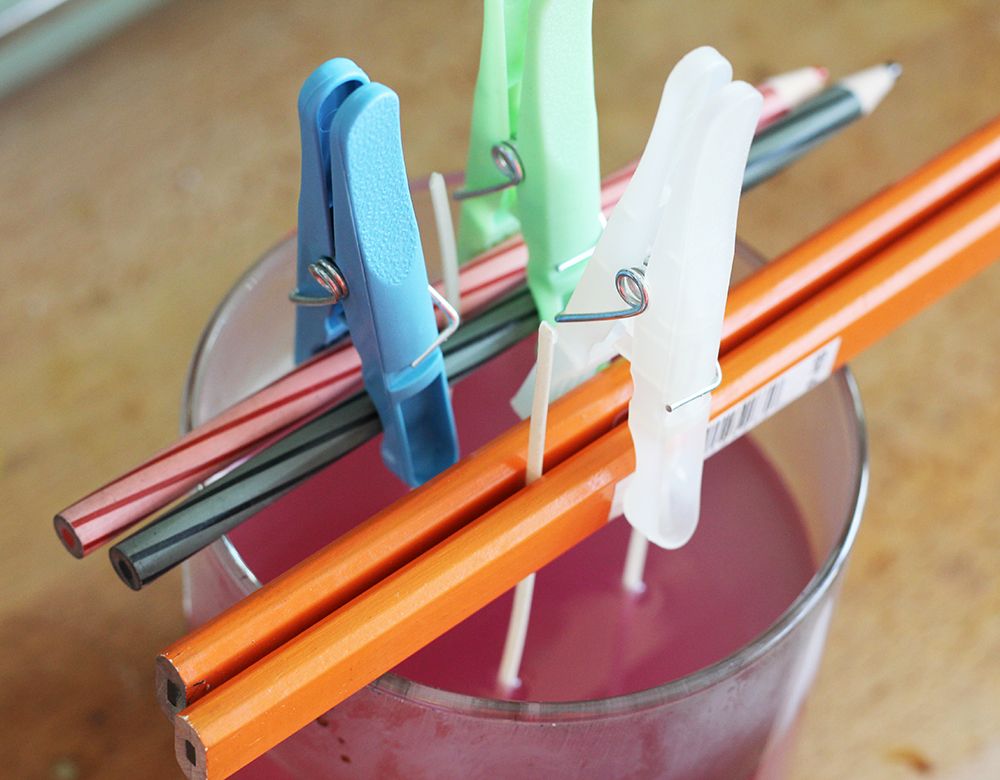
My method was to glue the candle wicks to the bottom of the glass jar (above) and then pour the hot liquid around them and wait for it to dry. Doing this method, you will need to keep the wicks upright (with pegs and pencils etc) since the wicks are coated in a thin film of wax and when you pour melted wax onto them, they loose all their stiffness and just collapse.
I would say, (and it truly pains me to admit this) that Warren’s method was perhaps better than mine.

Step Six:
Once the wax has fully dried (takes a few hours!) peel off the masking tape – (if you used any/decided to decor your jars). I then washi-taped the join between the paint and the glass jar. Because, HAVE YOU EVER SEEN ME DO A DIY WITHOUT THE USE OF WASHI TAPE?
Step Seven:
Light up and enjoy!

This was such a quick and easy Saturday-afternoon DIY. We did a quick price breakdown and have worked out that for the 2kgs of soy wax flakes, plenty of wicks, the essential oils (the main cost), the glass jars (technically free) -it worked out to about £5 per gherkin jar sized candle – we made three big candles and a smaller medium sized candle with those things and still have essential oils left over – such a bargain! And you can obviously blend all the flavours that you love!
I’ve been proudly showing off these candles in all the yoga classes I’ve been teaching saying, “THIS WAS ALL WARREN YOU KNOW!”
When he found out I was proclaiming his fantastic candle making skills to everyone, he has now decided that perhaps it’s not the manliest thing to be doing on a Saturday afternoon, whilst drinking tea.
So I am assuming he will be feeling the need to concoct a testosterone scented candle
– coming soon.
It’s my mission to INSPIRE people to MOVE, BREATHE and CREATE!
That’s why I created my members area which has yoga flows, meditations, DIY activities, journal prompts and loads more juicy goodies to get to back to your body, your heart and yourself!

Come join the community here!